 |
| Chalkboard vinyl placemats--great fun for the kids! Try colored chalk markers. |
* Plastic placemats (I used clear, but you can get some at the dollar store with any ol' pattern on them, since you'll be covering up the front with chalkboard vinyl anyways. No worries!)
* Chalkboard Vinyl (we've got you covered there!)
* Colored vinyl (silver, etc.) for utensil or other embellishing cut-outs (we sell over 15 colors, so take your pick)
* Transfer Paper (Hint: for small items to be transferred, I use a sheet from my lint roller. I wouldn't recommend that for larger items, but it works for small things. Just a quick tip if you're in a fix!)
* And obviously, some chalk or chalk-markers if you want to put these things to their proper use. :) Colored chalk markers are fun (and are what are featured here).
First, you need to measure your plastic placemat.
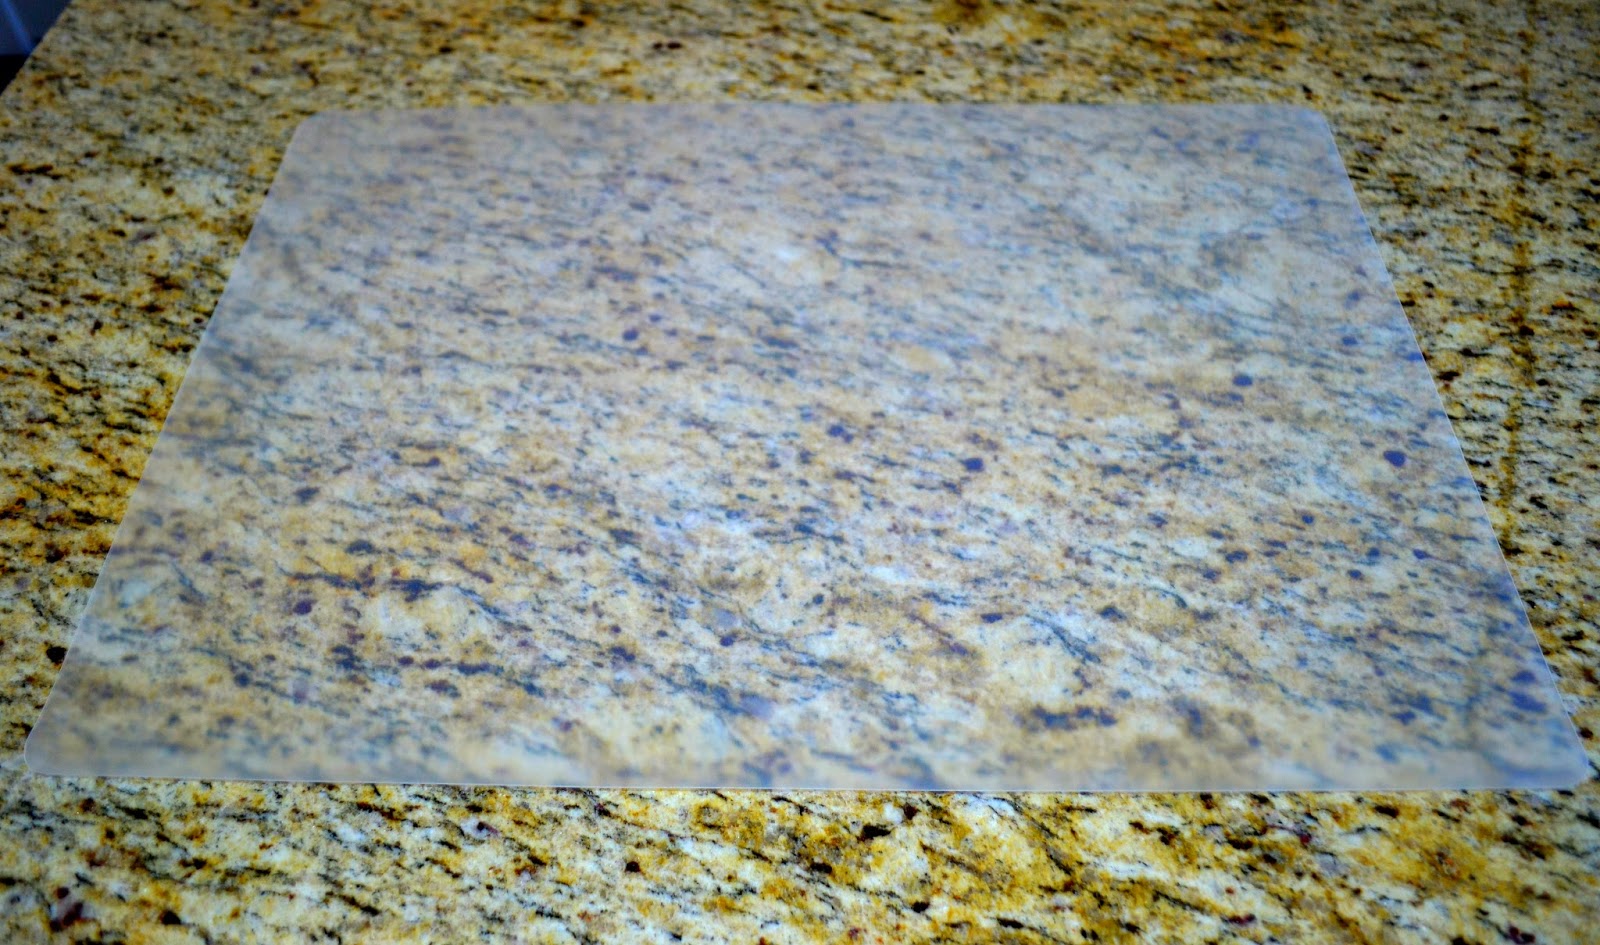 |
| Measure your placemat |

Next, cut out some "utensils" using a colored vinyl, such as silver, pale blue, or whatever matches your decor. You can forego the utensils and just do swirls, flourishes, or try cutting out your child's name and putting it across the top or down the side. Make it your own. :) I went with utensils. Use the transfer tape to apply it, per the vinyl directions.

Rub on the embellishments, pull of the transfer tape, and voila! You're set.
 |
| Chalkboard vinyl placemat for kids |

Now let the kids get to work as you get to making their lunches! ;) Happy art time at the table. Easy clean up--just wipe off using a wet paper towel or cloth! Easy as can be.

No comments:
Post a Comment