Well my...this post has been a long time in coming. I have been meaning to share this lovely lil' swag banner with you all weeks ago. To make up for it, I'll do another post later today of what you should do with the scraps/edges of your fabric from this post--so don't throw them away! :) Trust me. An easy use for them. (Check out the follow-up post HERE.) But for now, here's a little something you can do with your Silhouette interfacing and a little fabric to "Springify" you home for Easter.

 |
| Happy Easter banner that makes me happy. |
Materials Needed:
* 11 Fabric squares or scraps, about 4x5 inches each (to be safe) (supposing you want a different colored egg for each pendant)
* 1/3 yard of cream colored burlap (for pendants)
* 1x1 foot square of cream colored fabric (for letters)
* Silhouette clean cut fabric interfacing (sewable is fine also)
* Ribbon to hang it from
* Permanent Fabric Glue, like Crafter's Pick (found at Hobby Lobby, etc. Just be sure it says that it dries clear.)
I had a bunch of fabric scraps that my mother sent me (glad she hung onto them), so I picked out a different colored spring-like print scrap for each "egg" or backing of each letter. This is a great way to use up those small pieces of fabric you have left over from other projects.

So first, pick you party...er, fabrics. You can certainly use all the same fabric for your backing, I just preferred to use up all these fun scraps.

Next, size your eggs/background shape using Silhouette Studio. Mine were about 3 inches across by 4 inches high.

Next, cut your interfacing to be slightly larger than each individual image. (i.e. if your egg shape is 3x4, cut your interfacing to be 3 1/2 x 4 1/2, etc.)

Next, place the rough side of the interfacing down onto your fabric, and iron for two seconds at the proper setting for the type of fabric you are working with.

Silhouette recommends that you leave a small border of extra fabric around the interfacing while you iron. (See pictures of this further down with the lettering.) I can only assume this is so that your interfacing doesn't accidentally move and get ironed onto your ironing board? I might keep a small border, but only very minimal. So, if you do leave some to spare, the next step is to trim off the edges of the fabric from around the interfacing.

That'll leave you with a bunch of small rectangles of lovely fabric with interfacing on the back. :)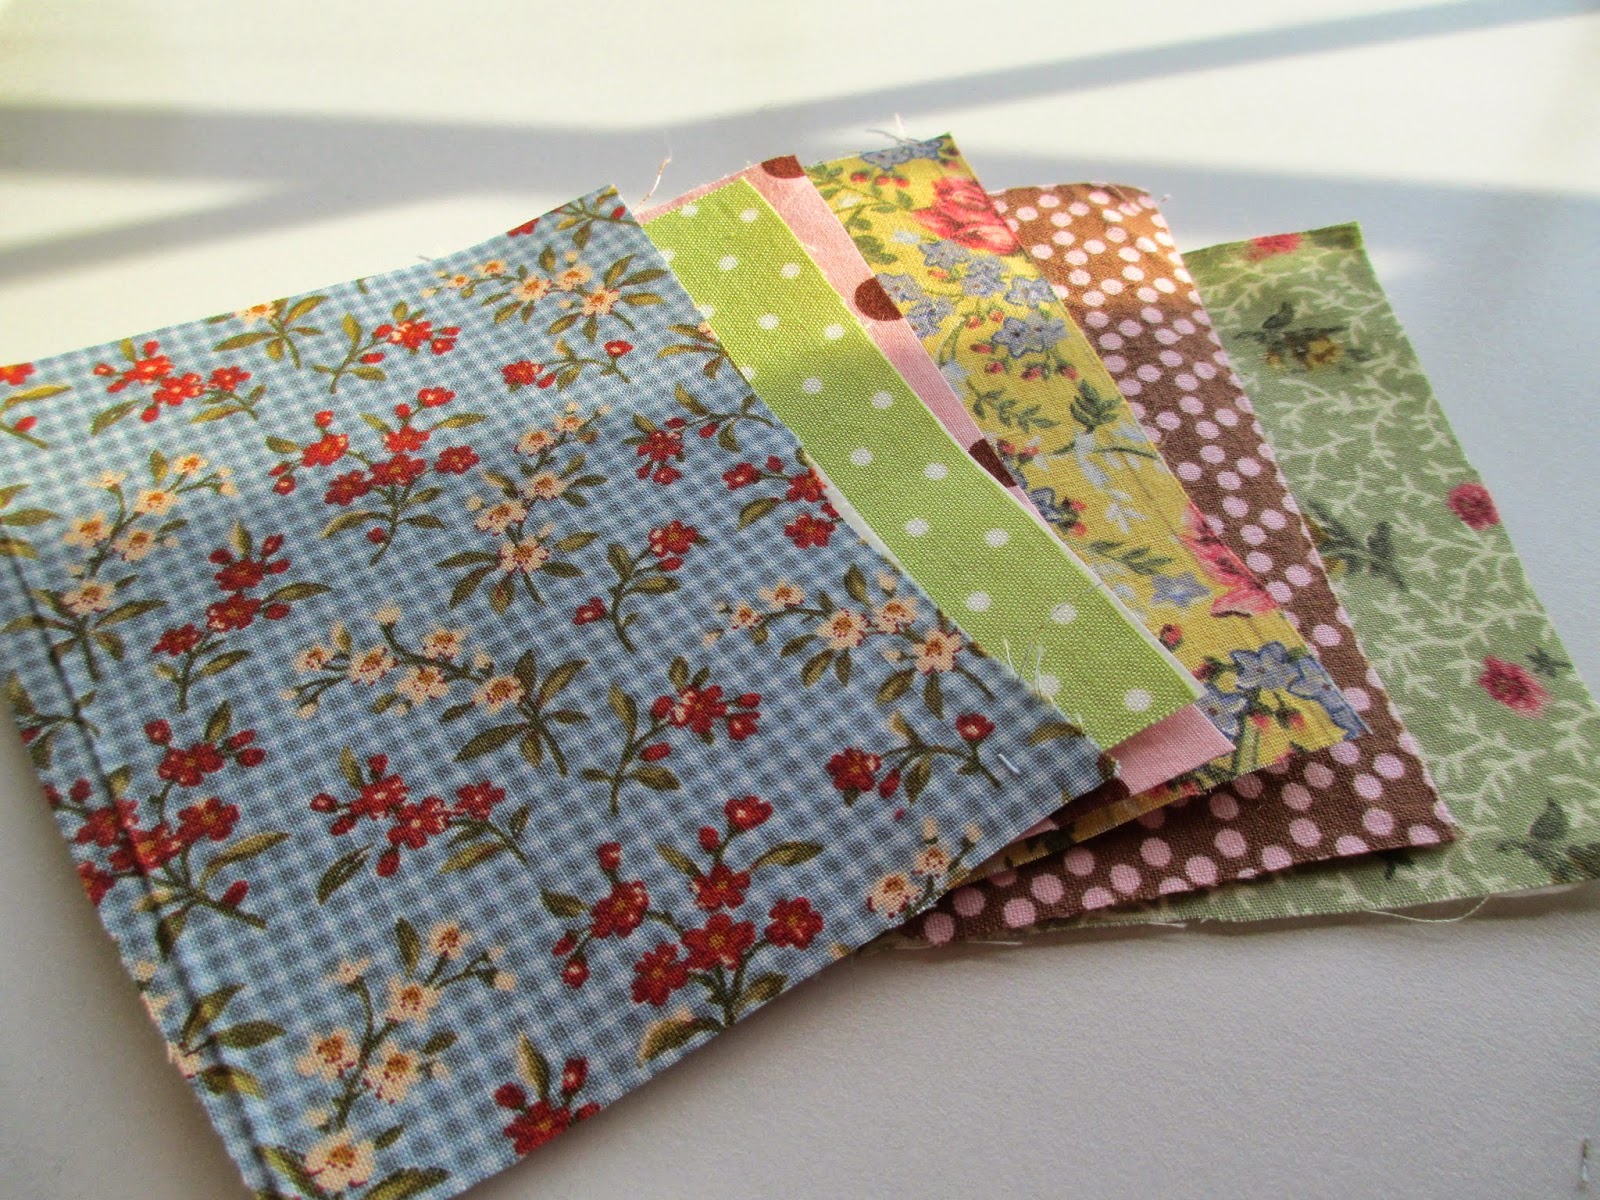
Next, peel off the backing of the interfacing (there is a picture of this further with the lettering as well), then place the fabric onto your cutting mat. Switch your regular blade to your Fabric Blade with your Silhouette, so it doesn't dull your paper blade. (Note: There is no real difference in the blades--other than the casing color. The idea is just that if you use the same blade for your fabric as you do for your paper, it will dull much quicker and be less effective with your paper cuts. So separate and love your blades longer.) Then send it through to cut out your lovely little eggs. :)

When it finishes cutting, remove excess fabric from around the eggs. Don't throw it away! Remember, I have another simple and fun project that you can use it for. See my next post, Eggcellent Easter Card. :) It's an easy follow up to this that should take you just minimal time.

For the lettering:
First, pick your font and size the letter to fit well inside one of your eggs. Just use the same file that you used to cut the eggs so you're sure it is sized appropriately. Once you have the font and sizing done, use the duplicate function to duplicate the letter 10 times, then change the letters so you have "HAPPY EASTER." This way you can be sure they are all the same size.

The only reason I didn't just size my first letter and then continue typing "-APPY EASTER" was because I wanted to be able to fit all the lettering in at once, which the phrases (based on the sizing) would have been too large for. (See below.)

Follow the same steps you used for your eggs backing. Measure and cut your interfacing, then iron it, rough side down to the back of your cream colored fabric (or whatever color you're using for your letters). If you feel it helps, leave about a 1/2-1" border of extra fabric around your interfacing when you cut it.
 |
| Silhouette recommends leaving an inch of extra fabric around the interfacing when you iron it on. |
 |
| When you're ready to send it through your Silhouette to be cut, first pull off the backing of the interfacing. |

Use your "Hook tool" to pull out the inner portions of the letters. :) (Which I hadn't done yet in the picture above, as you can see.) Now you're done with your lettering and egg backing shapes, it's time to get the burlap pendants cut and ready. :)
For burlap pendants:
Okay, so I read a lot of posts online about how to cut burlap straight, and they all proved very helpful and all said essentially the same thing. :) So I'm going to share what I learned with you.
First, decide on the size of your pendants. I made mine about 4x5". Then, about where you want to make your cut, use a needle or something similar (your Silhouette Hook tool would work great!) to pull out one of the strings the runs in the direction you want to make your cut. (I used the bottom stem of some fake flowers I had next to me. ha)
 |
| First pull out a string that runs in the direction you want to cut your burlap |
 |
| Snip the pulled thread from where you want to cut your line. |

 |
| From where you pull your thread out, there will be left behind a clear line to cut along. |

Do this for each of the edges of your pendant, and you'll have yourself some fairly straight cut burlap!
Now, for the bottom of my pendants, I actually decided to keep the edging that was already there (sort of frayed) because I liked it. :) To fray the bottoms like I have here, simply cut your pendants a little "taller" than you want, and then pull out about 5 of the horizontal threads from the bottom and rub the bottoms of the exposed vertical thread between your fingers to fray them.
Next, it's time to do some ironing! First, place your letters on top of the appropriate eggs, if you have a fabric ordered preference. (Be sure, if you happened to forget, to pull off the paper lining from the back of each shape and letter.) Place your egg shape on top of one of your burlap pendants. The reason that you haven't ironed anything yet is because 1. You are saving time (rather than ironing eggs onto the burlap, and then the letters onto the eggs--do it all at once; it's enough heat and pressure doing it all together), and 2. Because you CAN'T iron your letters on first. If you do this, the heat will also effect the interfacing on the back of your egg shapes, and they'll adhere themselves right onto your ironing board. So, either do it all at once (as I did below), or do your eggs first and then letters.
Before ironing, place some cardboard or other surface in between your pendants and ironing board. This is just precautionary, since your burlap backing is not tightly woven and you don't want the interfacing on your board at all. So, do it like so:
 |
| Place cardboard between your prepared pendants and ironing board before ironing. |

Now you have yourself some pendants, ready for being strung and ready to be hung!


I couldn't make up my mind with how I wanted to hang my pendants, so instead of just choosing one ribbon type, I chose two. :) I just picked up two 3 yards spools and decided to use them both. Using some fabric glue, attach the ribbon (or fabric strips, or whatever you are wanting to use) to the tops of your pendants.

 |
| Draw a line of fabric glue across the top and then press down ribbon to adhere it. |
Also, to keep the edges of my pendants from fraying or falling apart, I used a small dot of the fabric glue in each corner on the back of my pendant.

I made sure to buy fabric glue that said it 1. Was permanent, 2. Dried Clear, and 3. Was flexible.
Finally, hang your swag, sweet stylin' banner! Your home just got a little more spring-filled within, and just a little bit brighter. :)


No comments:
Post a Comment