Looking for an easy craft project for the kids to keep them busy one of these summer days? Try this fun paper tissue art. Here's all you need:
Materials Needed:
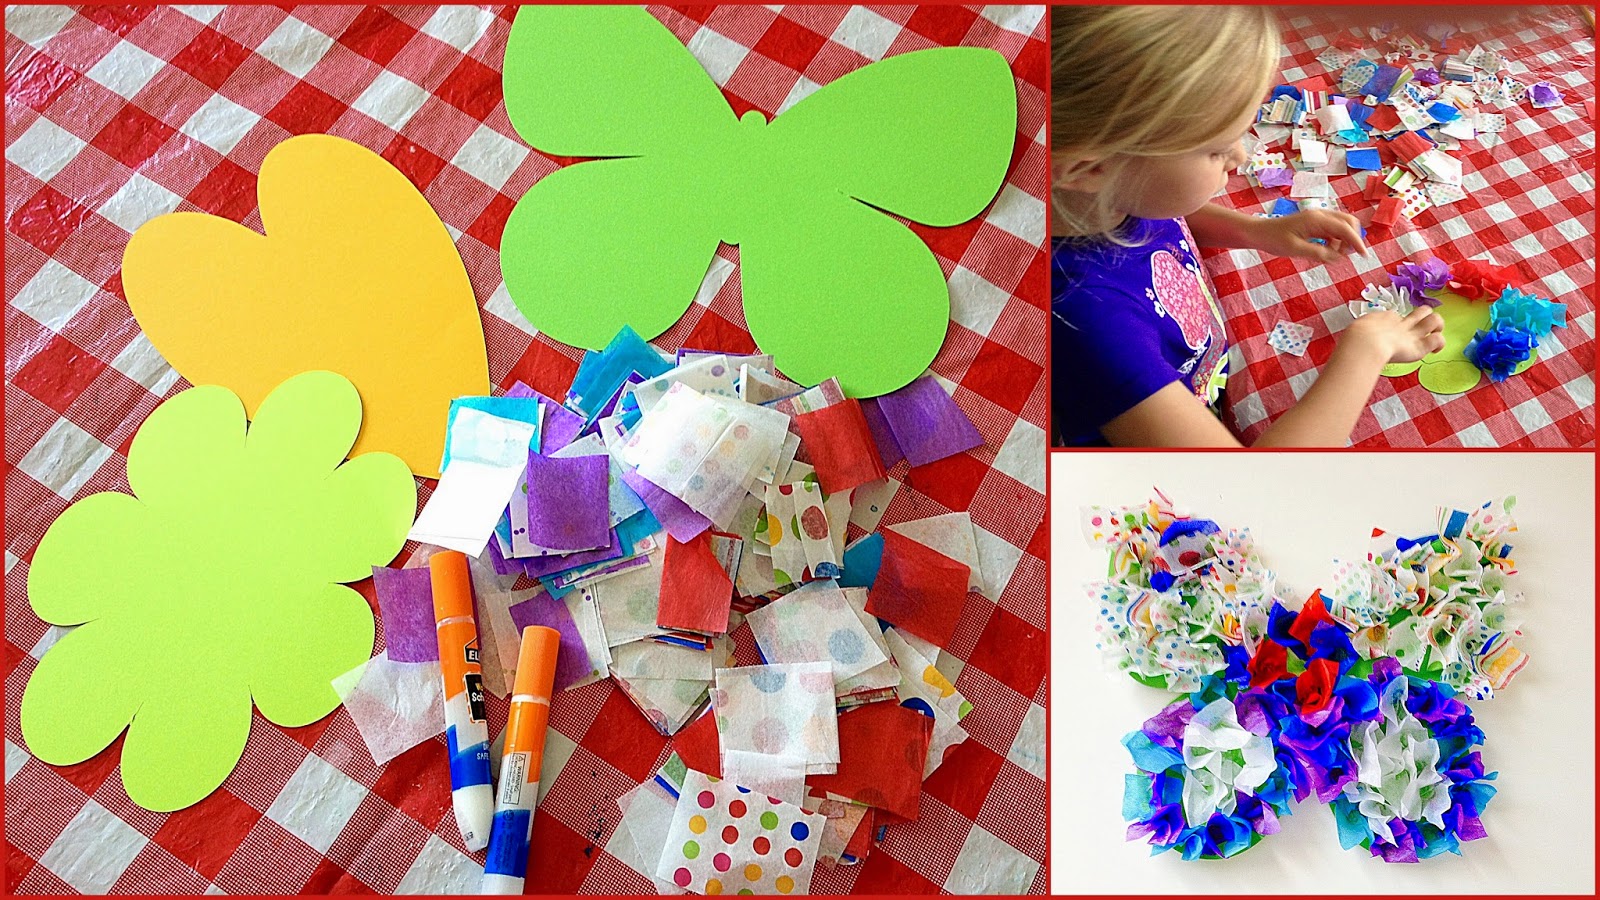
* Colored or pattered tissue papers
* Die cut shapes (heart, butterfly, etc.) in cardstock
* Glue sticks

For this project, first cut out a few simple shapes on cardstock using your Silhouette or Cricut. My nieces really love butterflies and flowers, so those were easy choices for me.
Next, using some scissors, cut the tissue paper into small squares, about 1 1/2 inches by 1 1/2 inches. You can make them bigger if you want the design to come up...taller. ;), but I found that this size works well.
And now...you hand it over to the children. :) Because this craft will include children using glue, having a table cloth down is always a good idea. :)
To make the design, you put a little glue on one side of a piece of tissue paper. Then put your finger into the middle of the paper square on the opposite side and press the paper down onto the cardstock, glue side down. Repeat with other squares of tissue paper.
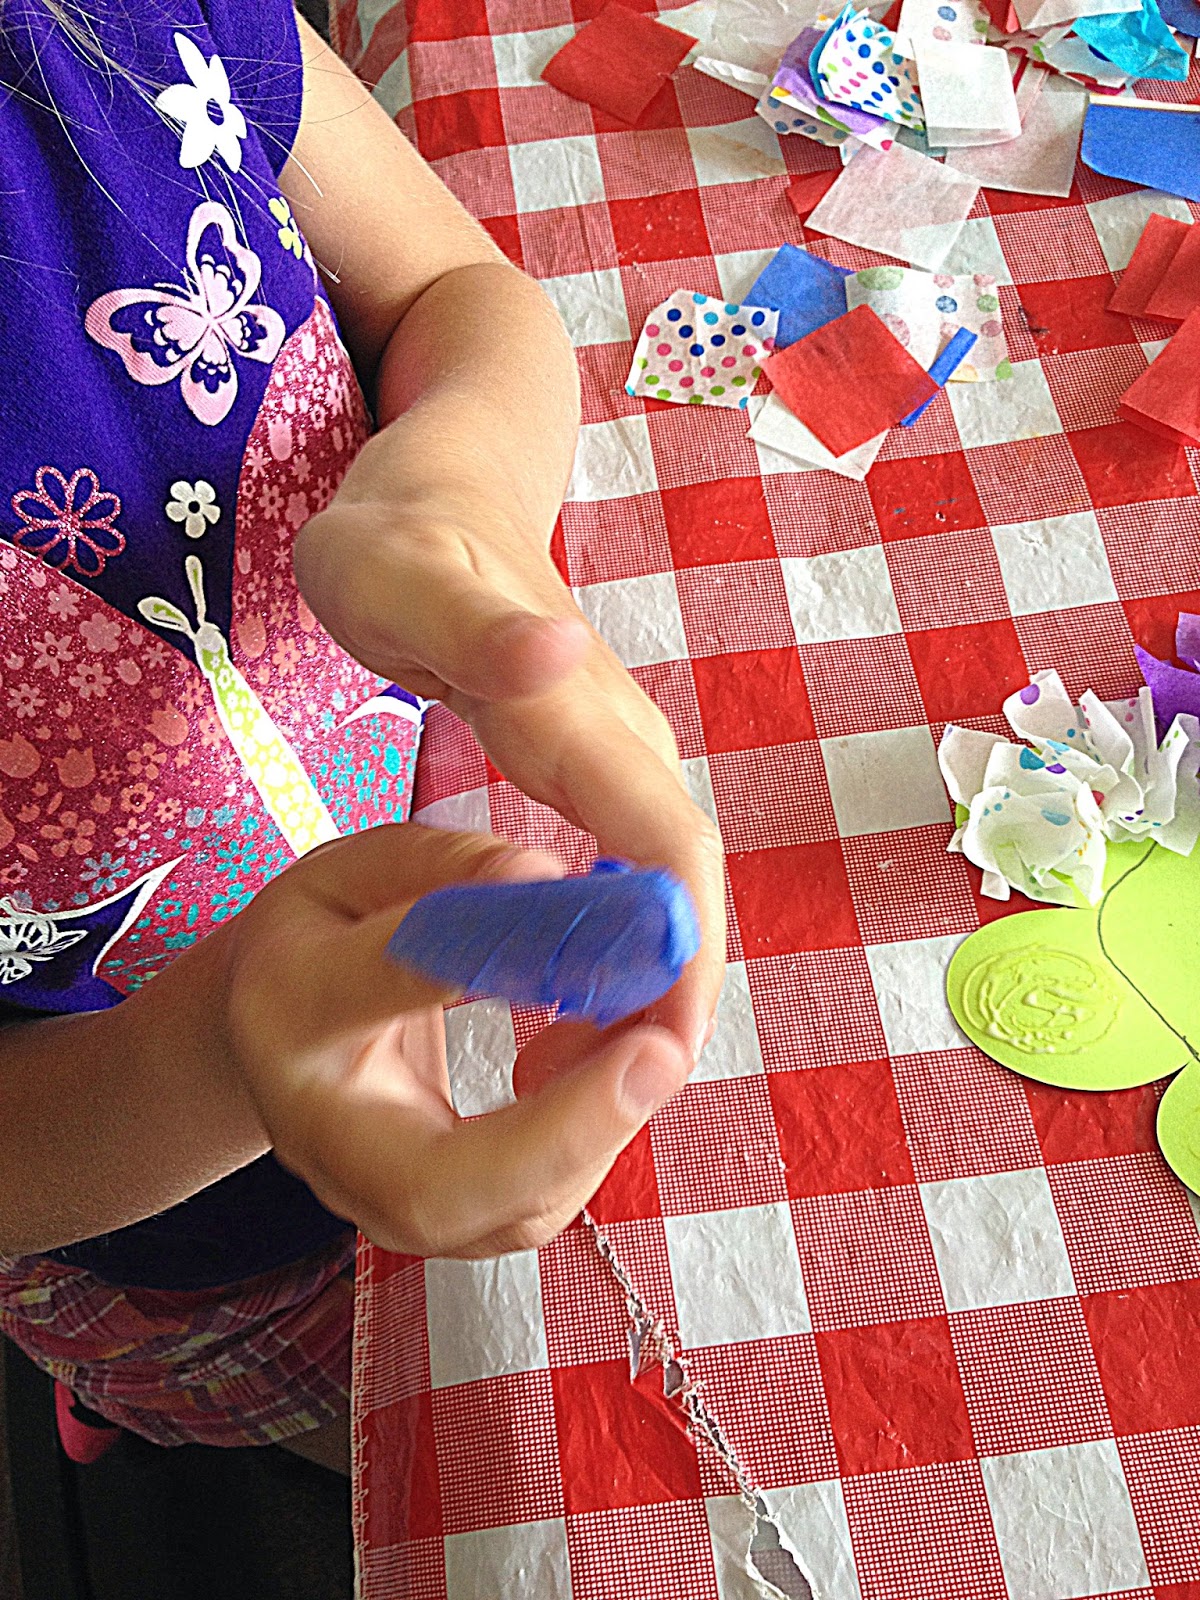 |
| Put your finger in the middle and then put a little |
 |
| Press the tissue paper down onto the cardstock using your finger and "fluff" the tissue on top. |
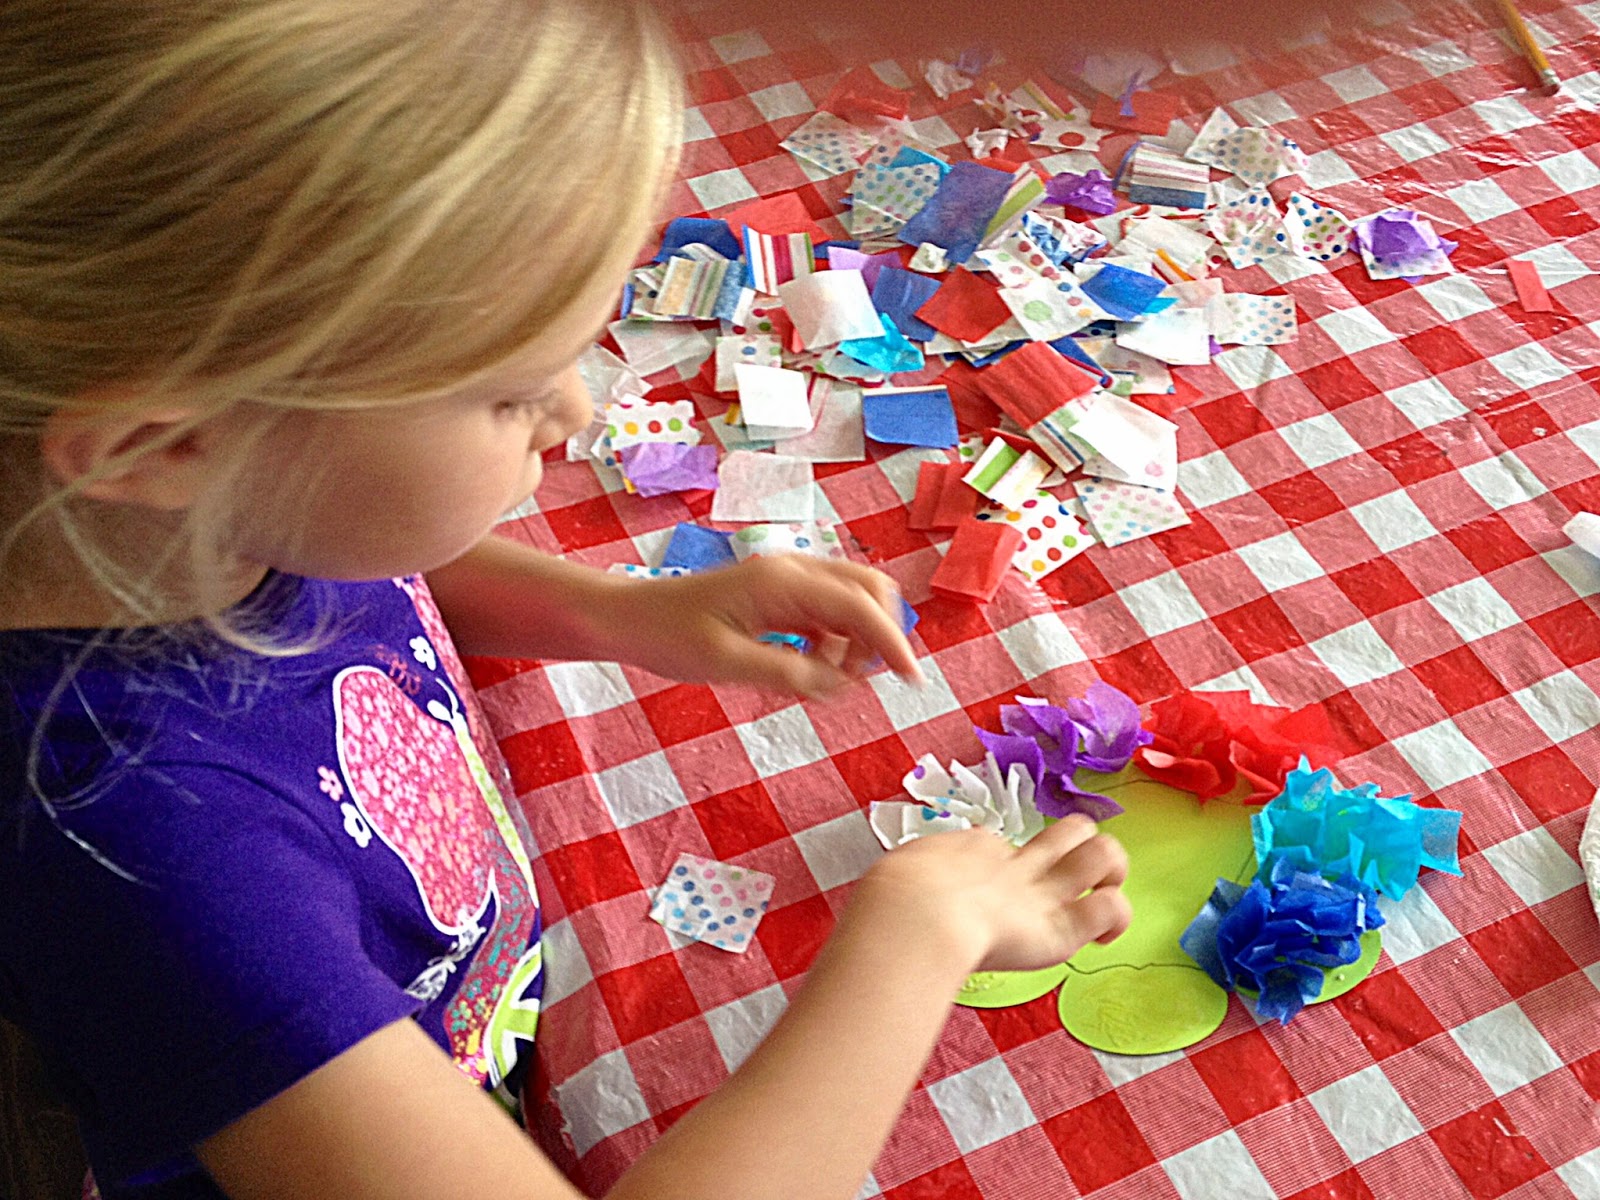
The kids can have fun making patterns with the different colored tissue papers on their shapes. If your kids like art, this can keep them occupied for awhile and not make much of a mess.
Isn't my niece a good little design maker? This is her butterfly. :) Hope your kids enjoy it just as much!

.JPG)